[Assignment 3]
Setting up & Functioning of 3X3 LED Grid using ARDUINO microcontroller programming
In this 3rd assignment we will be venture into basic C programming along with its application in ARDUINO microcontroller.The objective of this task was to create groups of 2 write our names by switching 9 LEDs ON/OFF with the help of a push button.Subsequent tasks involved:-
1. With a press of one push button, the letters of the name blink every 1000ms.
2. With press of another push button, all LEDs blink ON and OFF with a delay of 1000ms 5 times.
3. Also,print the letter typed on serial Monitor.
This entire process has to be documented and a video has to be uploaded on the webpage.
Components Required
We need to the following components to build this setup:-
Component No.
Breadboard 1
LEDs 9
Push buttons 2
Arduino Kit 1
Resistors 9
Jumper wires ~22
Laptop 1
1. Building the Circuit
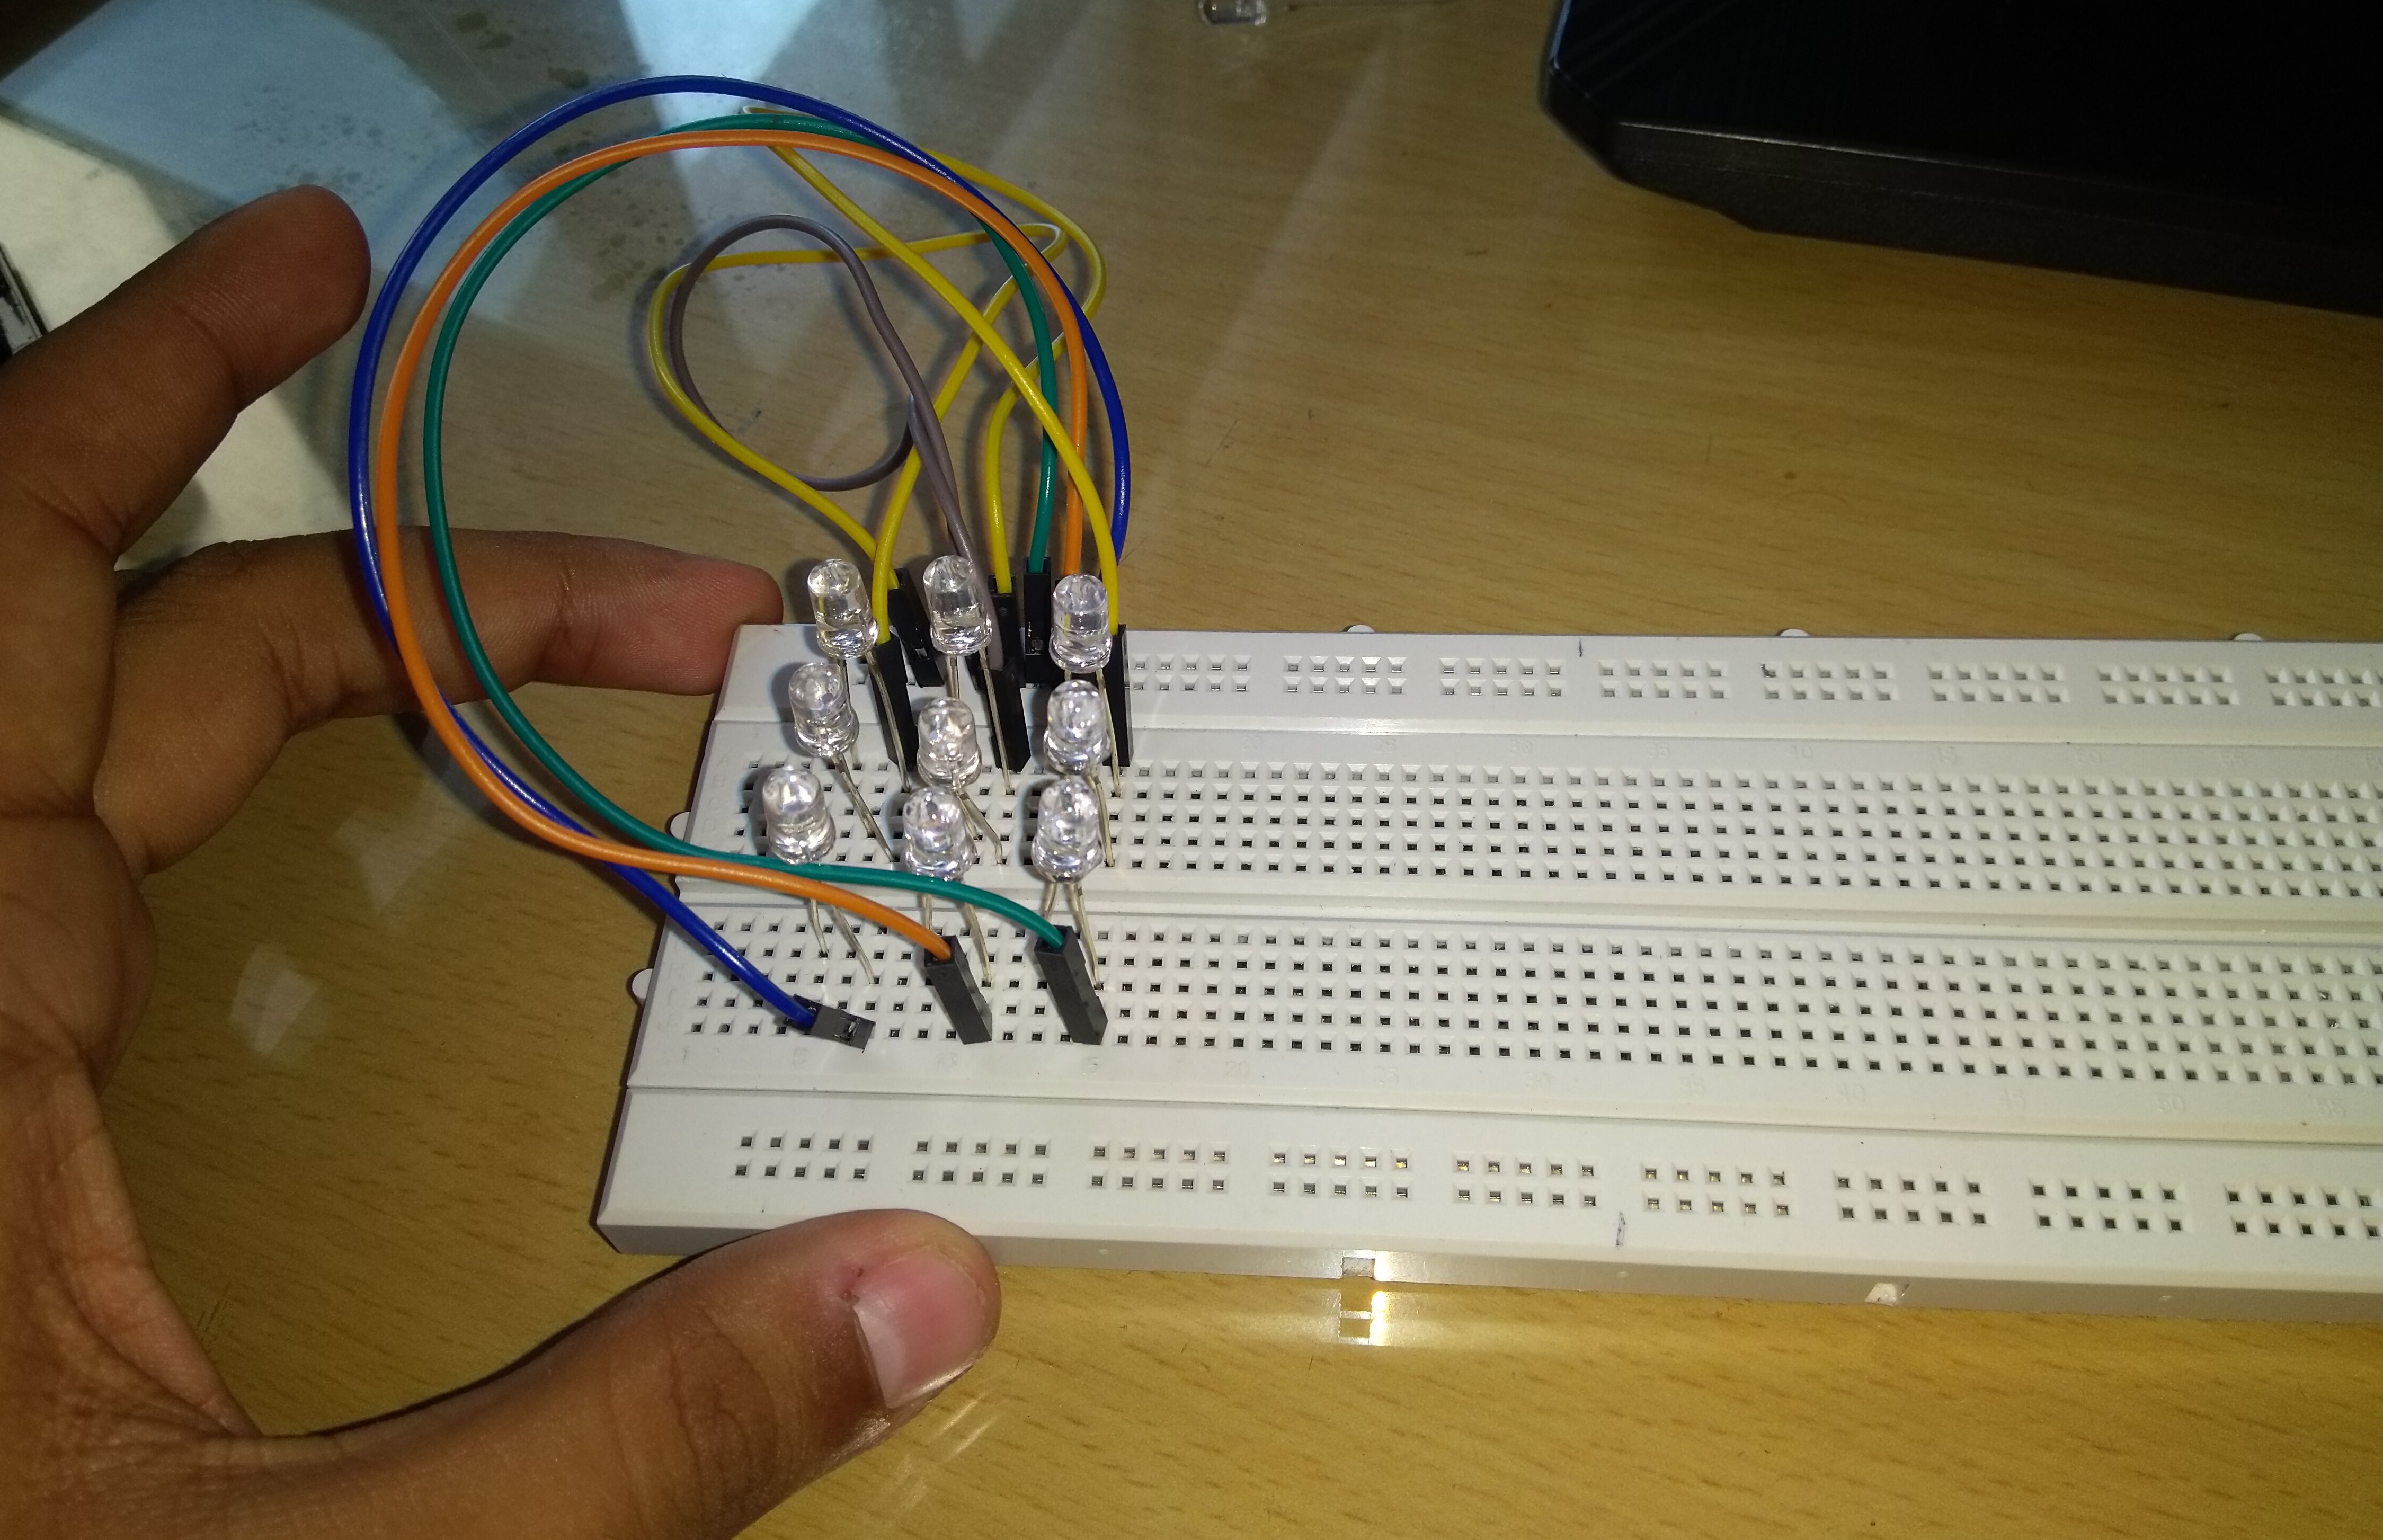
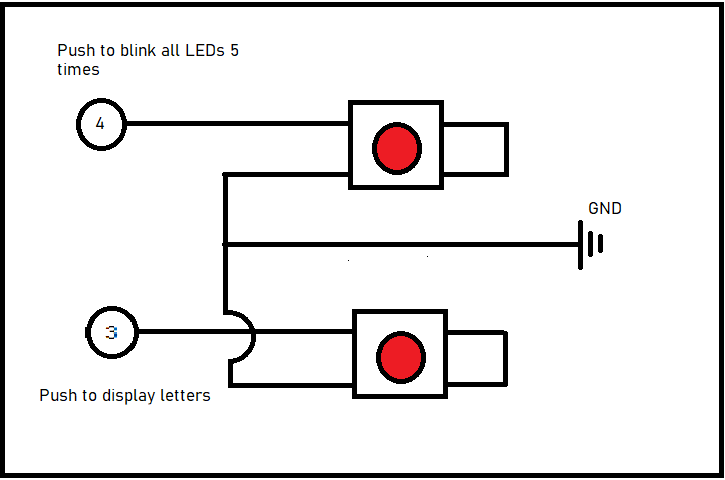
The schematic circuit diagram below shows the way I have build the circuit.The longer end or ANODE is indivual for each of the LEDs whereas the Ground is mostly common for all.
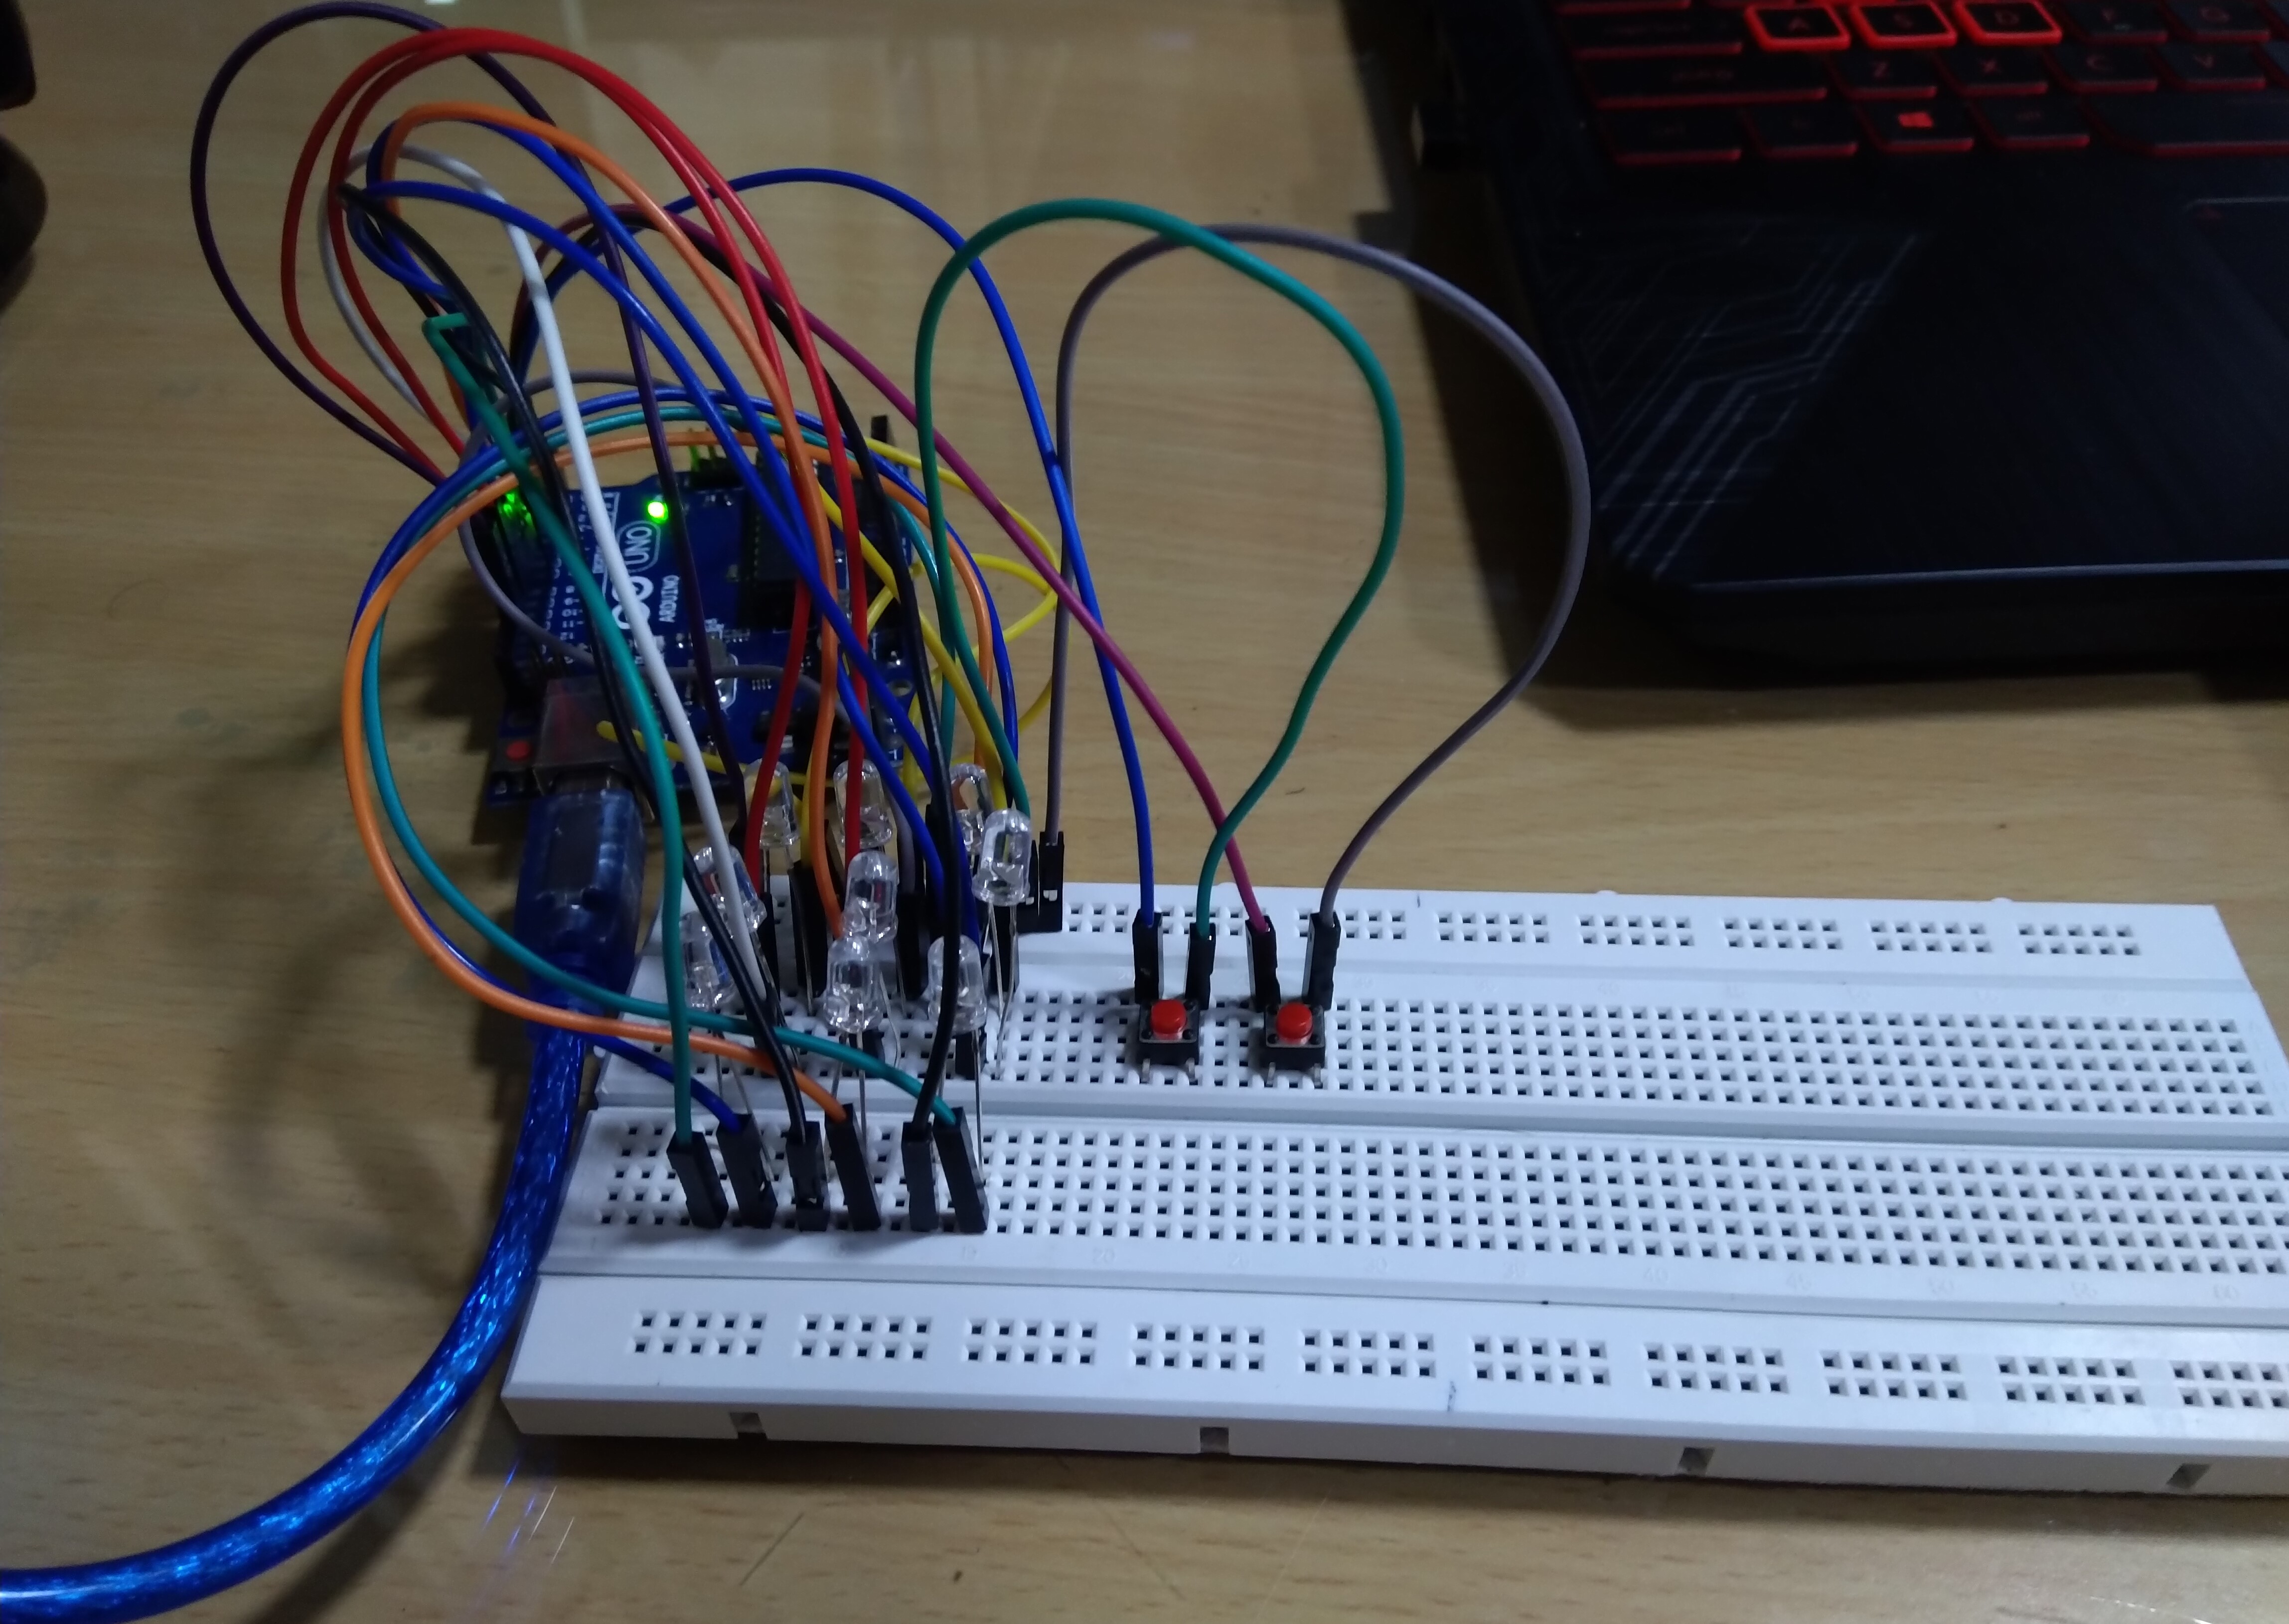
The subsequent images shows the steps of building up the circuit
Connections were made according to the above diagram and tested by uploading the code from arduino IDE
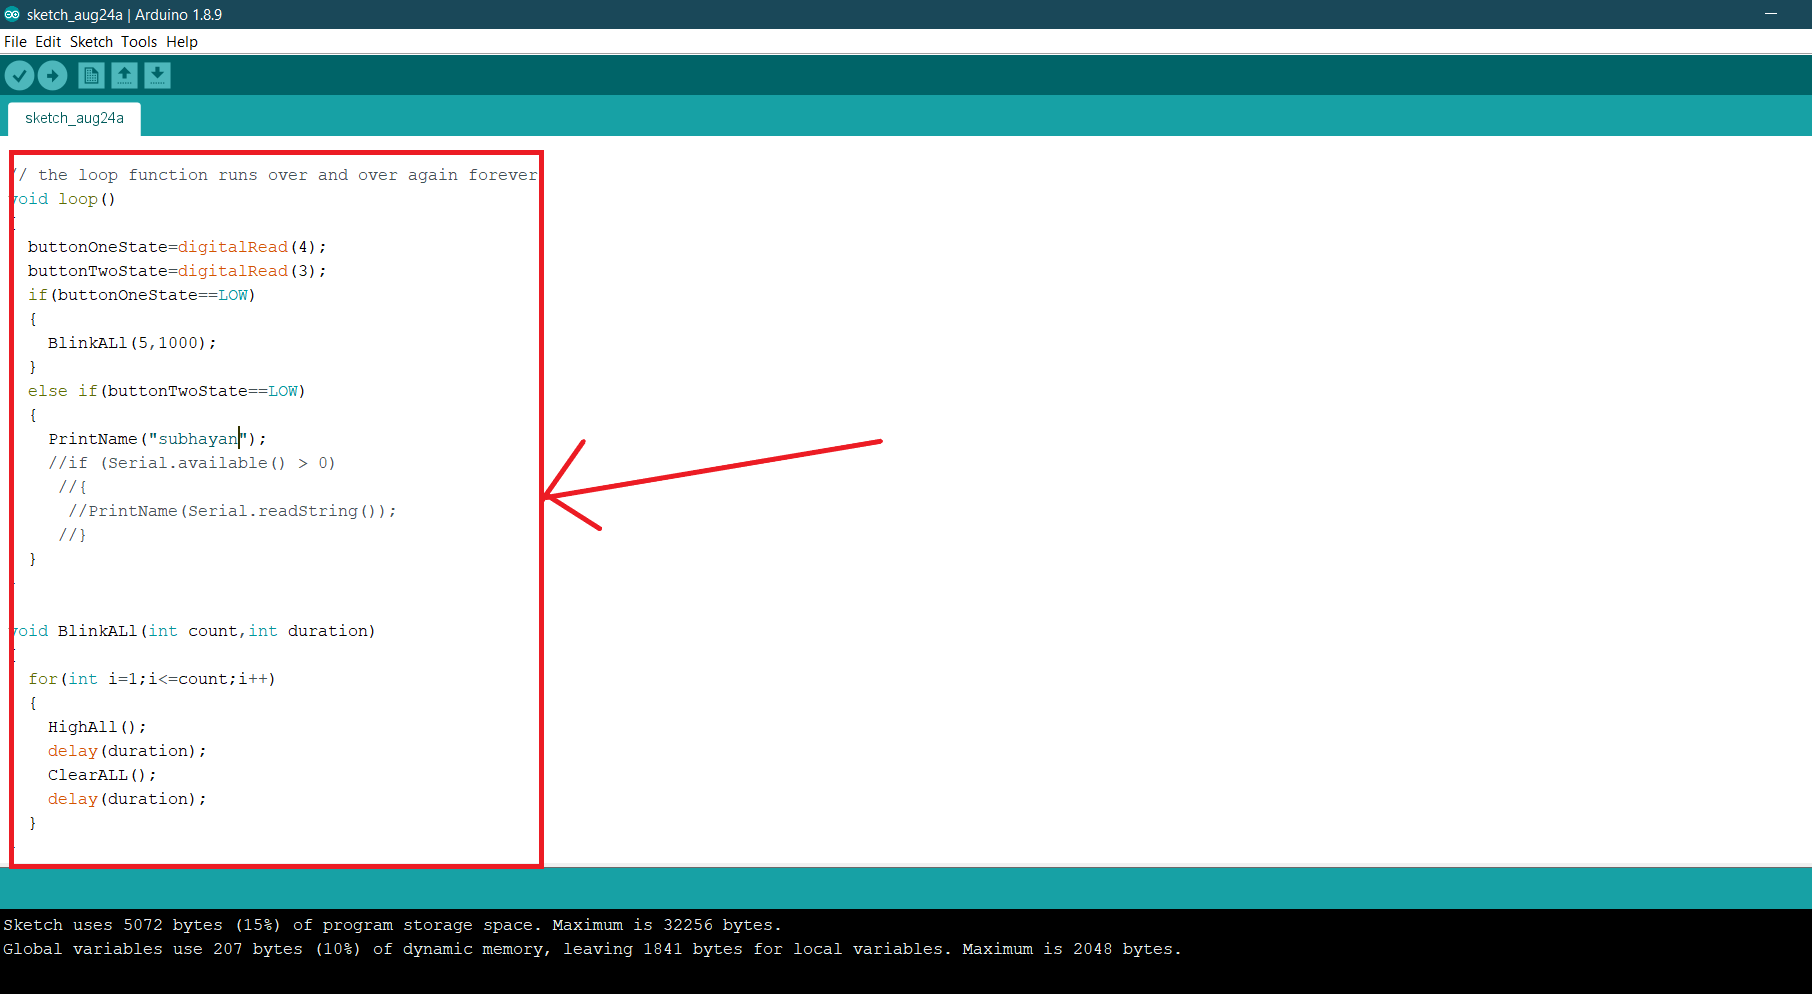
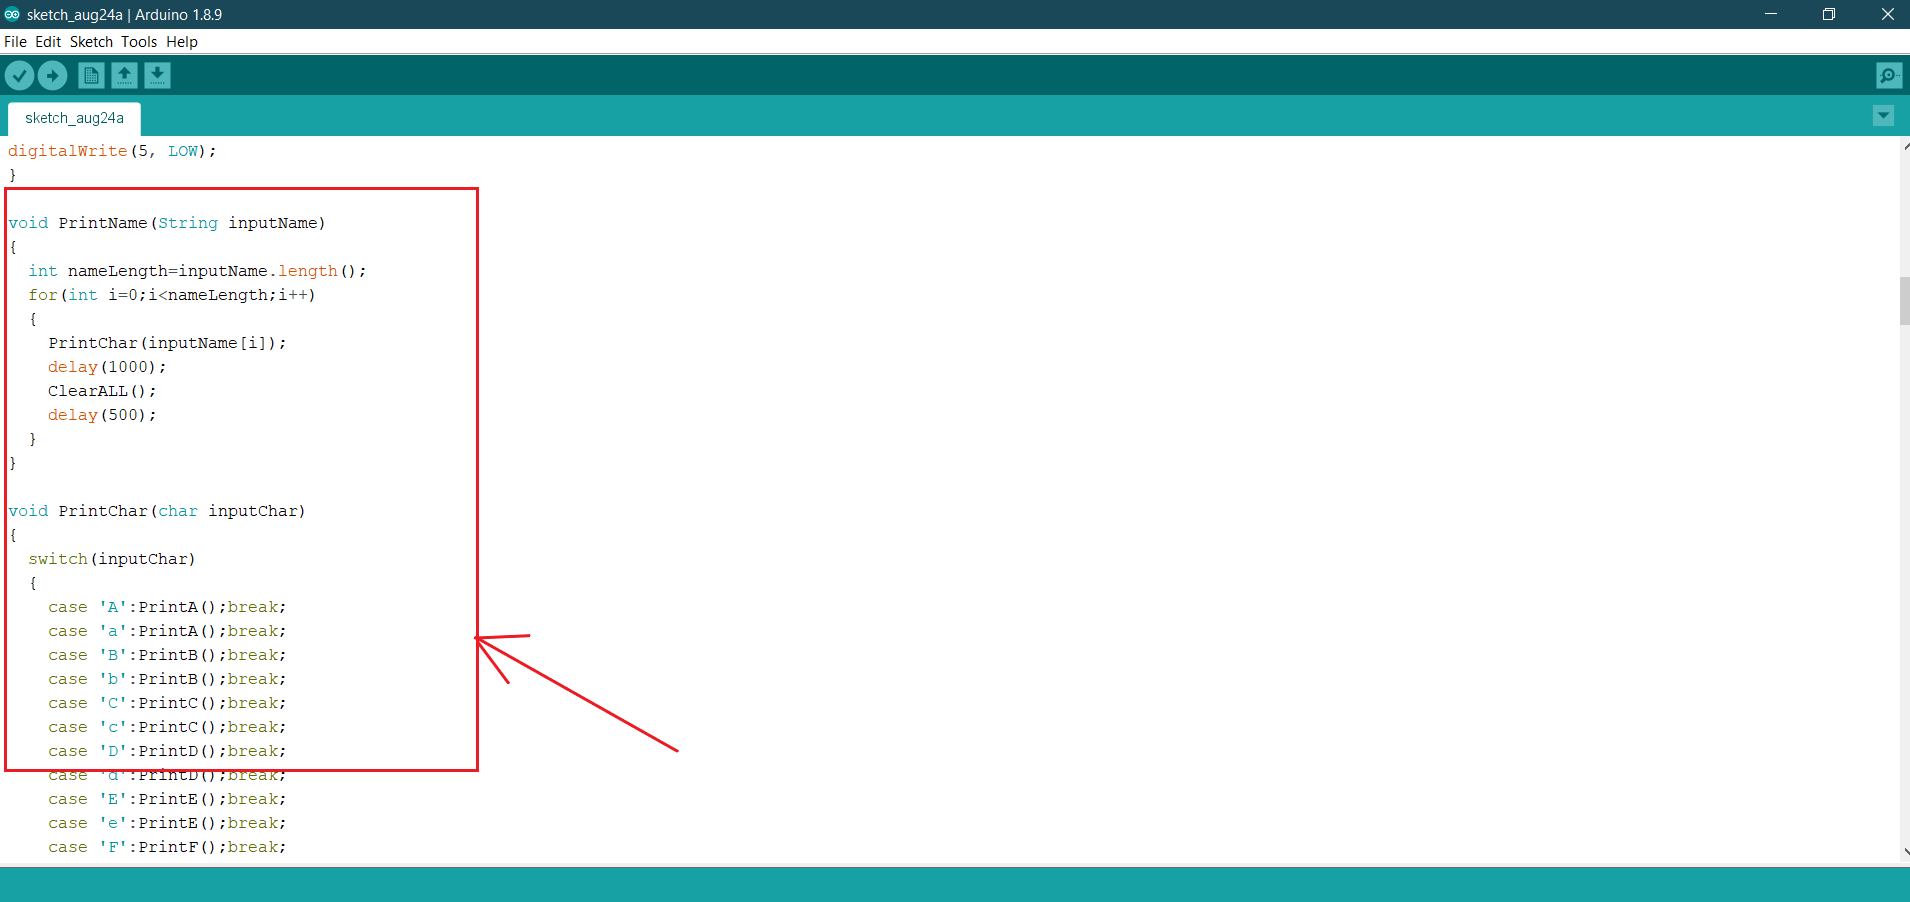
2. Programming in ARDUINO
Prior to this task I had only little insights on C++ programming, this helped me little into programming the code also I had help from Ayush my teammate.Click here for Arduino Code
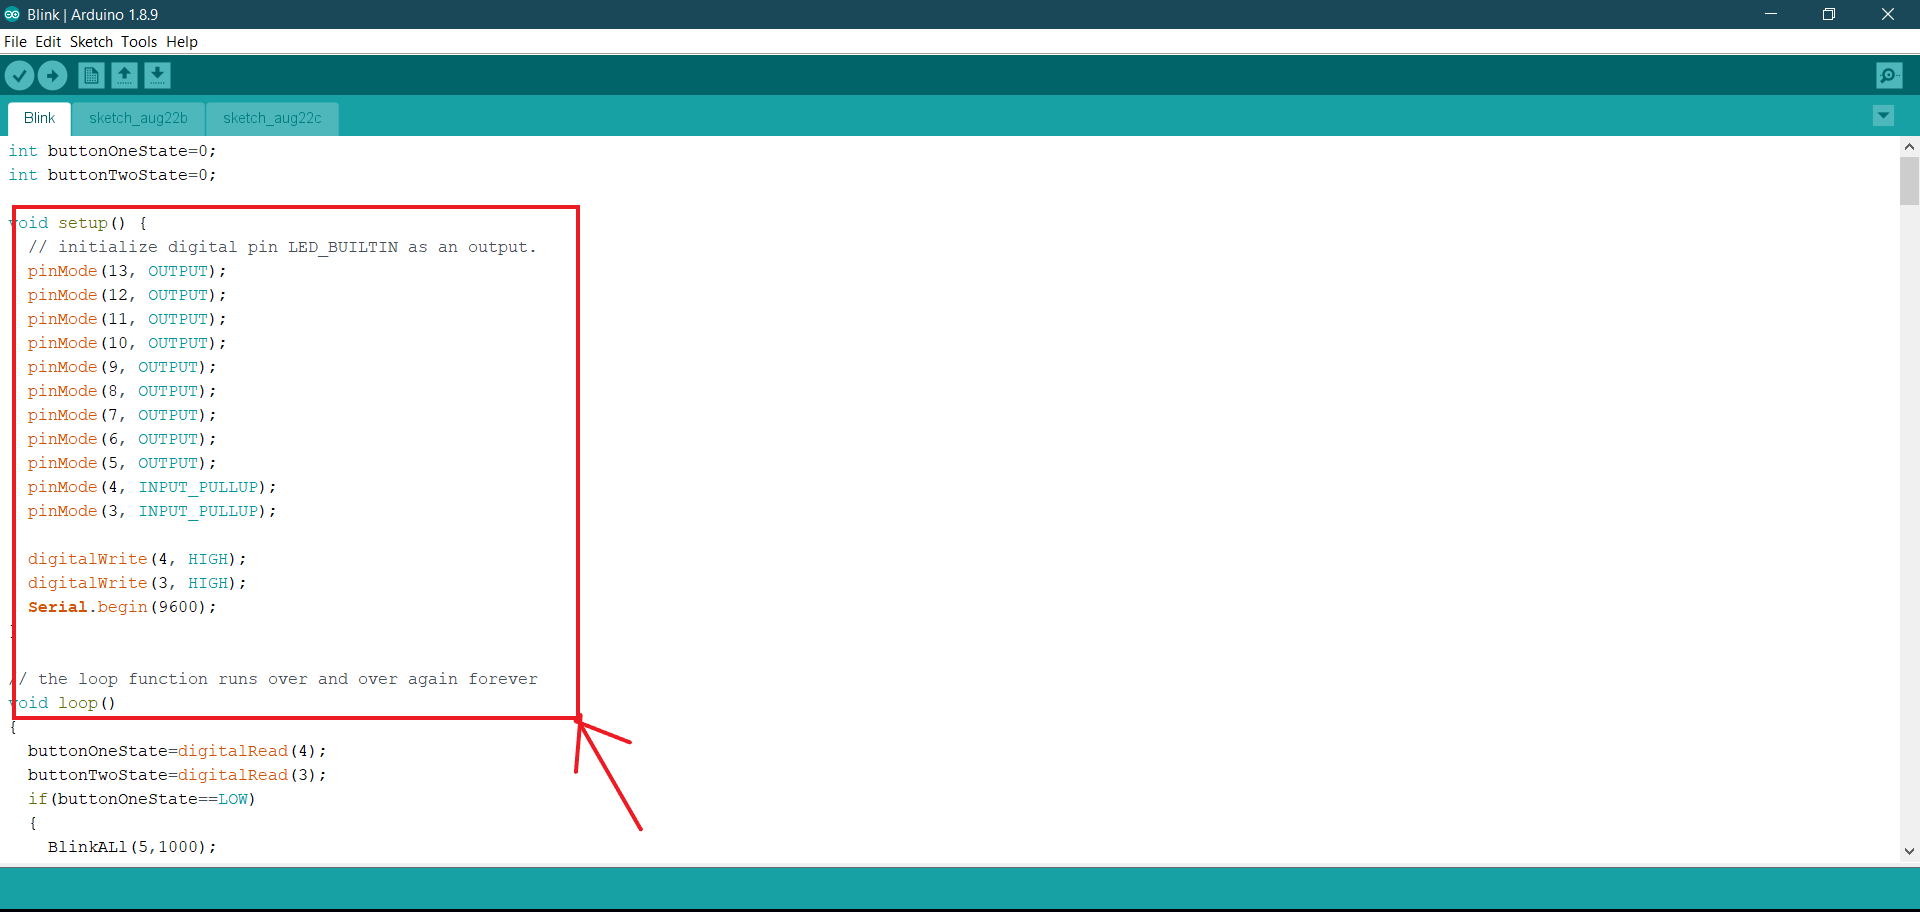
NOTE:- The Serial.begin(9600)runs the data rate at bits per second.
3. Final Working Video
Now the completed task videos are embeded below.Have a look at it.Input was "myself subhayan" and the blinking of LEDs as seen.
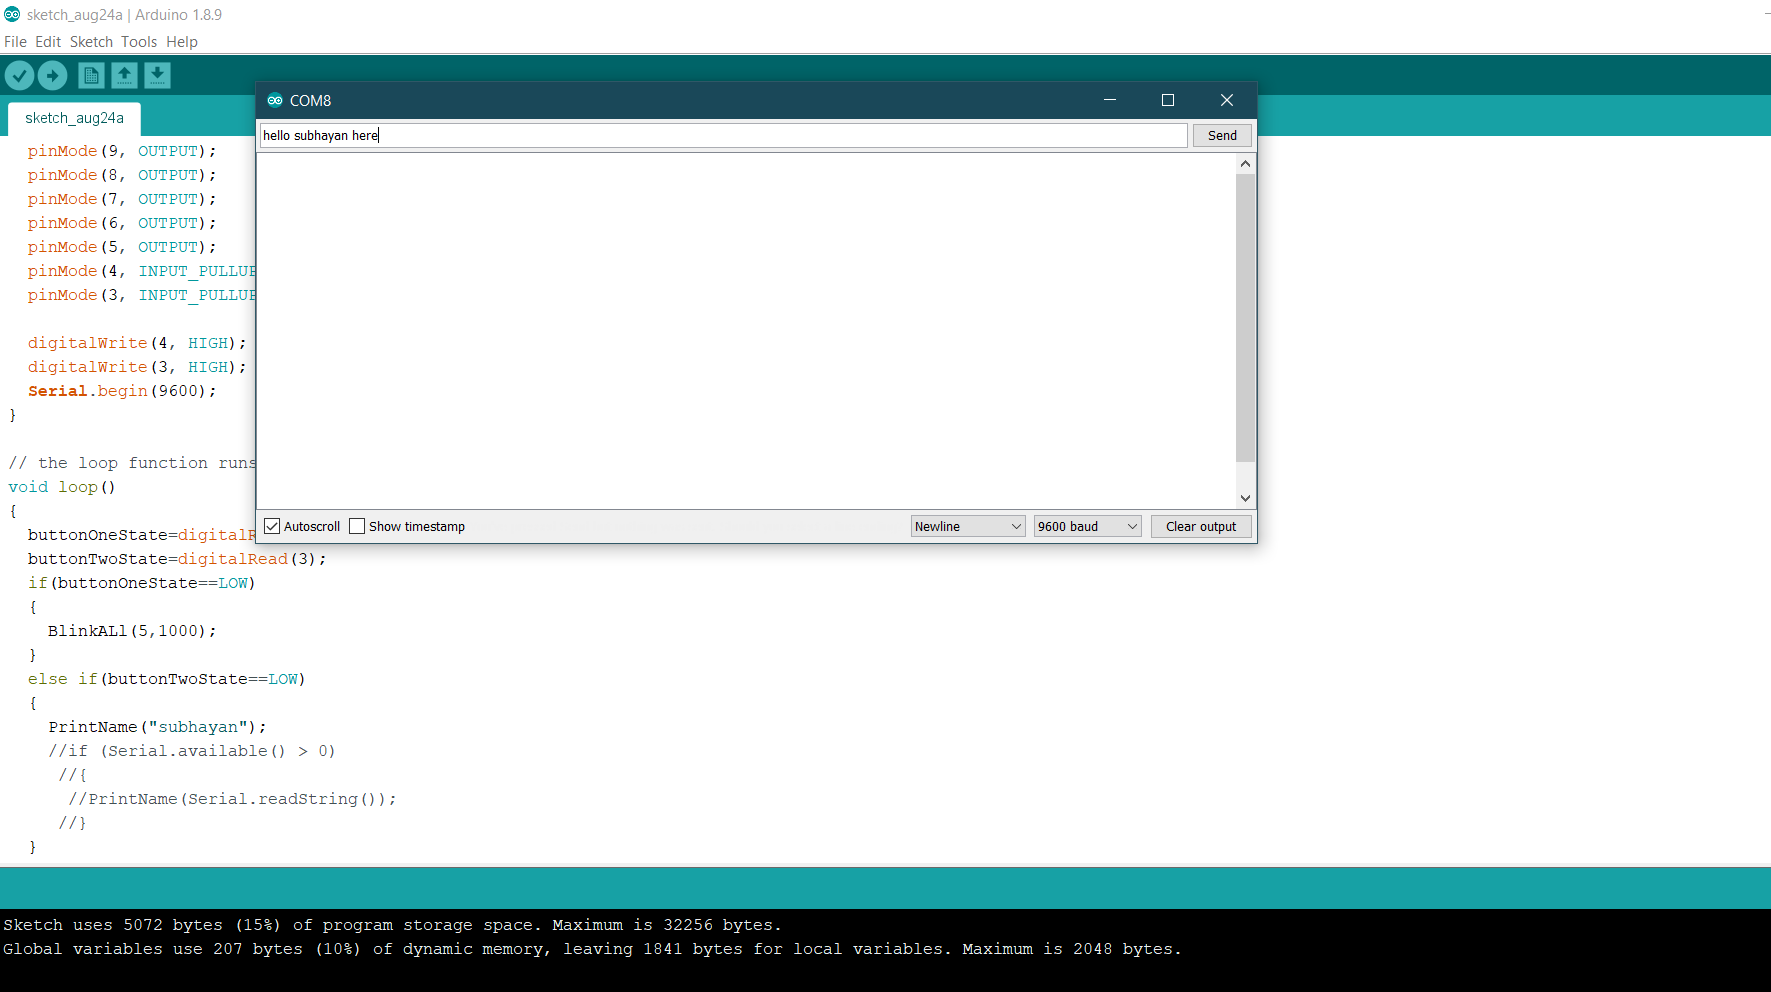
Input to serial monitor was "hi subhayan here" and the resultant blinking as seen.
---------------------------------------------------The EnD---------------------------------------------------